 Pin It
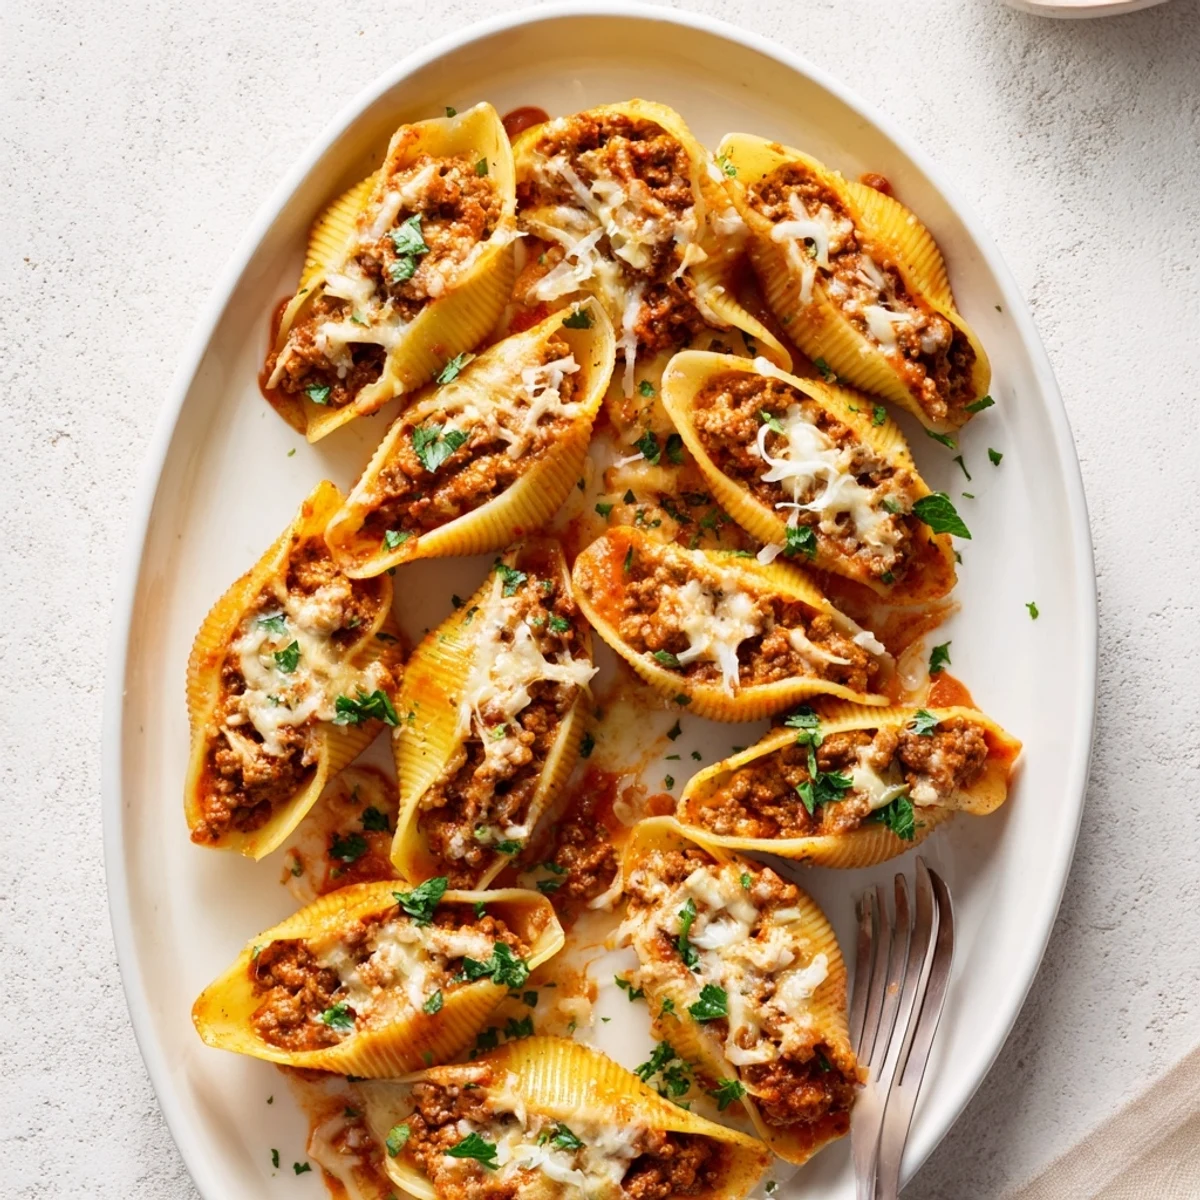
 These jumbo pasta shells are generously filled with a savory blend of browned ground beef, aromatic onions and garlic, and a rich ricotta mixture with egg, Parmesan, mozzarella, and fresh parsley. The stuffed shells nestle in a velvety marinara and heavy cream sauce, then bake until the cheese topping bubbles and turns golden brown. The entire dish comes together in about an hour and produces four satisfying portions.
The first time I made stuffed shells was during a freezing February when my apartment heater barely worked. Something about bubbling pasta and melted cheese just makes winter feel bearable. My roommate walked in from her shift at the hospital and literally said she could taste the comfort through the air. That night became our regular tradition whenever life felt overwhelming.
Last Sunday my sister brought her new boyfriend over for dinner. I was nervous until I watched him take three shells straight from the baking dish. Later she told me it was the first home cooked meal he actually finished. Sometimes food speaks louder than awkward introductions ever could.
Ingredients
- 20 jumbo pasta shells: Buy an extra box because some always rip during cooking and nobody wants half shells ruining the aesthetic
- 1 lb ground beef: The fat content matters here so dont go extra lean or your filling will taste disappointingly dry
- 1 small onion finely diced: Minced finely enough that nobody gets a chunky surprise in their cheese filling
- 2 cloves garlic minced: Fresh garlic makes such a difference please skip the jarred stuff
- 1 tsp dried Italian herbs: Homemade blend or store bought both work but make sure they arent ancient
- 1/2 tsp salt and 1/4 tsp black pepper: Adjust based on how salty your Parmesan is
- 1 1/4 cups ricotta cheese: Whole milk ricotta gives the best texture
- 1 large egg: Room temperature egg binds everything together better
- 1/2 cup grated Parmesan cheese: The good stuff you grate yourself not the shaker can
- 1 cup shredded mozzarella cheese: Part skim melts beautifully without becoming an oil slick
- 2 tbsp fresh parsley chopped: Adds brightness that cuts through all that rich cheese
- 2 cups marinara sauce: Your favorite jarred brand works perfectly here
- 1/2 cup heavy cream: This little addition makes the sauce taste like it simmered for hours
- 1/2 cup shredded mozzarella and 2 tbsp grated Parmesan: For the top because cheese on cheese is never a bad idea
Instructions
- Get your oven ready:
- Preheat to 375F and grab your 9x13 baking dish giving it a quick coating of oil or cooking spray
- Cook the pasta:
- Boil those shells until they are barely al dente because they will cook more in the oven later
- Make the beef base:
- Brown your ground beef then toss in the onion and garlic letting them soften for about 3 minutes before adding the herbs salt and pepper
- Mix the filling:
- Combine ricotta egg Parmesan mozzarella and parsley in a big bowl then stir in that cooled beef mixture
- Prepare the sauce:
- Whisk the marinara and heavy cream together in a separate bowl spreading half across the bottom of your dish
- Stuff the shells:
- Fill each shell with about 2 tablespoons of filling arranging them open side up in the sauce
- Finish assembling:
- Pour the rest of the sauce over the shells then sprinkle with the remaining mozzarella and Parmesan
- Bake covered then uncovered:
- Cover with foil for 25 minutes then remove and bake another 10 minutes until the cheese turns golden and bubbly
- Let it rest:
- Wait 5 minutes before serving which helps the filling set and keeps everyone from burning their mouth
 Pin It
 My grandmother would argue that stuffed shells taste better the next day. She started making them on Sundays just so she could have leftovers for Monday lunch. Now whenever I reheat a portion the smell takes me straight back to her tiny kitchen with the overflowing junk drawer.
Make Ahead Magic
You can assemble this entire dish the night before and keep it covered in the refrigerator. The flavors actually develop better this way. Just add 5 10 minutes to the baking time since it will be cold going into the oven.
Freezing Instructions
Wrap the unbaked dish tightly with plastic then foil and freeze for up to 3 months. Thaw overnight in the refrigerator before baking as directed. I learned this trick when I was meal prepping for my maternity leave.
Serving Suggestions
A crisp green salad with vinaigrette cuts through the richness beautifully. Garlic bread is non negotiable in my house because the sauce is too good to leave behind.
- Spinach can be squeezed dry and added to the ricotta mixture for a veggie boost
- Ground turkey or chicken works if you want something lighter
- A glass of Chianti or Merlot pairs perfectly with the creamy tomato sauce
 Pin It
 There is something incredibly satisfying about pulling that foil off and seeing the golden cheese bubbling away. Hope this recipe becomes part of your comfort food rotation too.
Recipe FAQs
- → Can I make these stuffed shells ahead of time?
-
Yes, assemble the dish completely, cover tightly, and refrigerate up to 24 hours before baking. You may need to add 5-10 minutes to the baking time if baking cold from the refrigerator.
- → What can I substitute for the ricotta cheese?
-
Cottage cheese blended until smooth makes a good substitute. For a dairy-free version, try a cashew or almond-based ricotta alternative.
- → How do I prevent the shells from tearing when filling?
-
Cook the pasta just until al dente, not beyond. Handle gently when draining and filling. Rinse briefly with cool water to stop cooking and make them easier to handle.
- → Can I freeze this dish?
-
Assemble the dish, wrap tightly in plastic and foil, and freeze for up to 3 months. Thaw overnight in the refrigerator before baking as directed.
- → What sides pair well with this dish?
-
Garlic bread, a crisp green salad with vinaigrette, or roasted vegetables like broccoli or zucchini complement the rich, cheesy flavors beautifully.
- → How do I know when the shells are done baking?
-
The cheese topping should be bubbly and lightly golden, and the sauce should be hot and bubbling around the edges of the dish. A thermometer inserted into the center should read 165°F.
