 Pin It
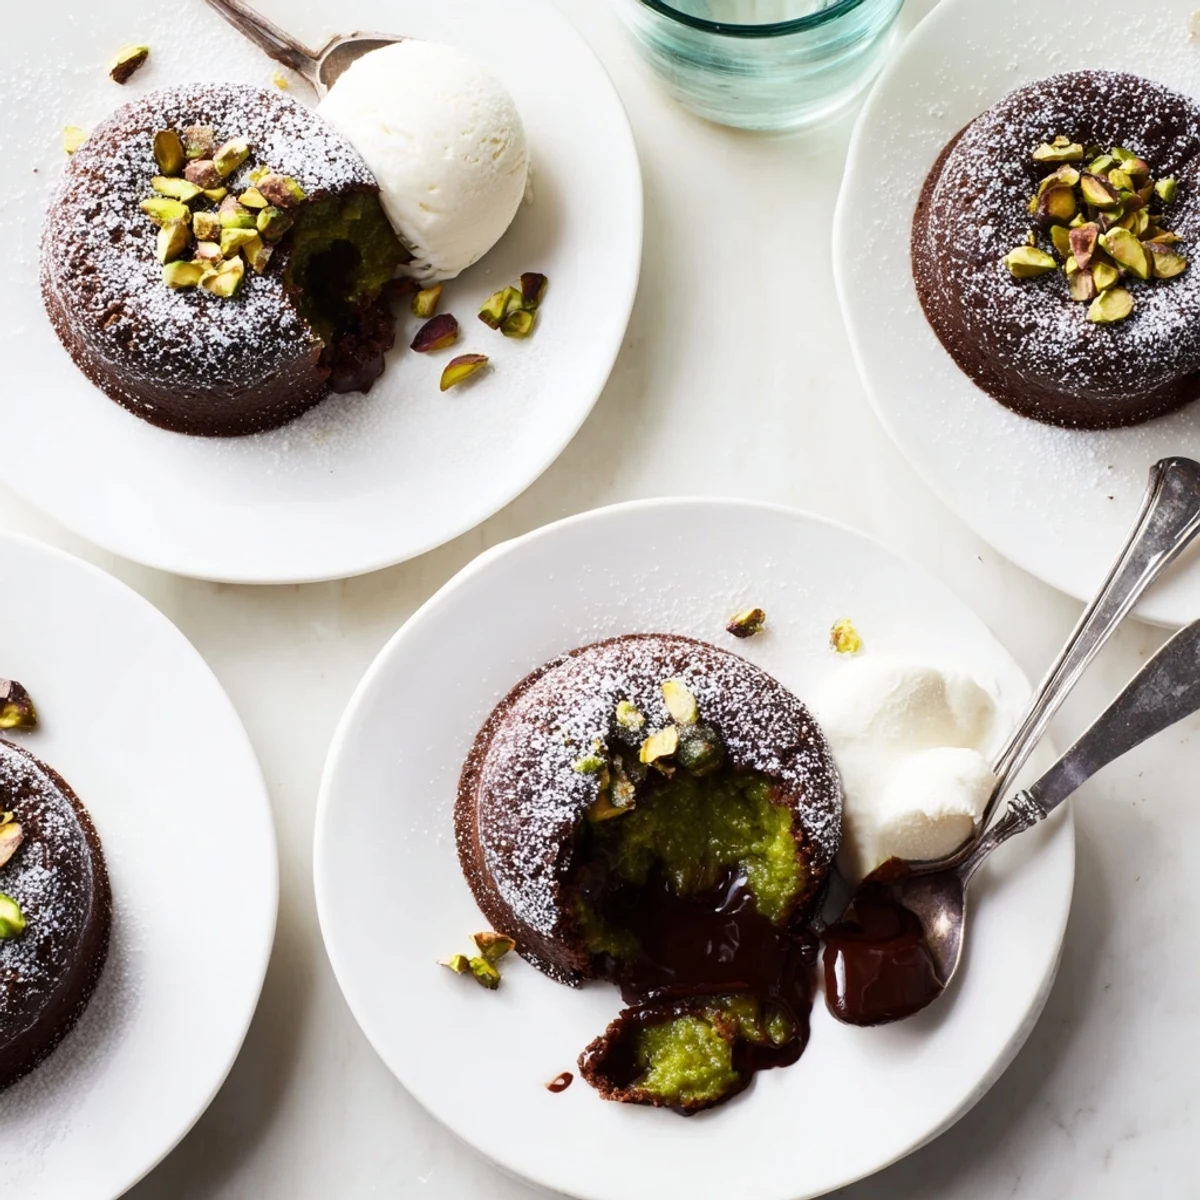
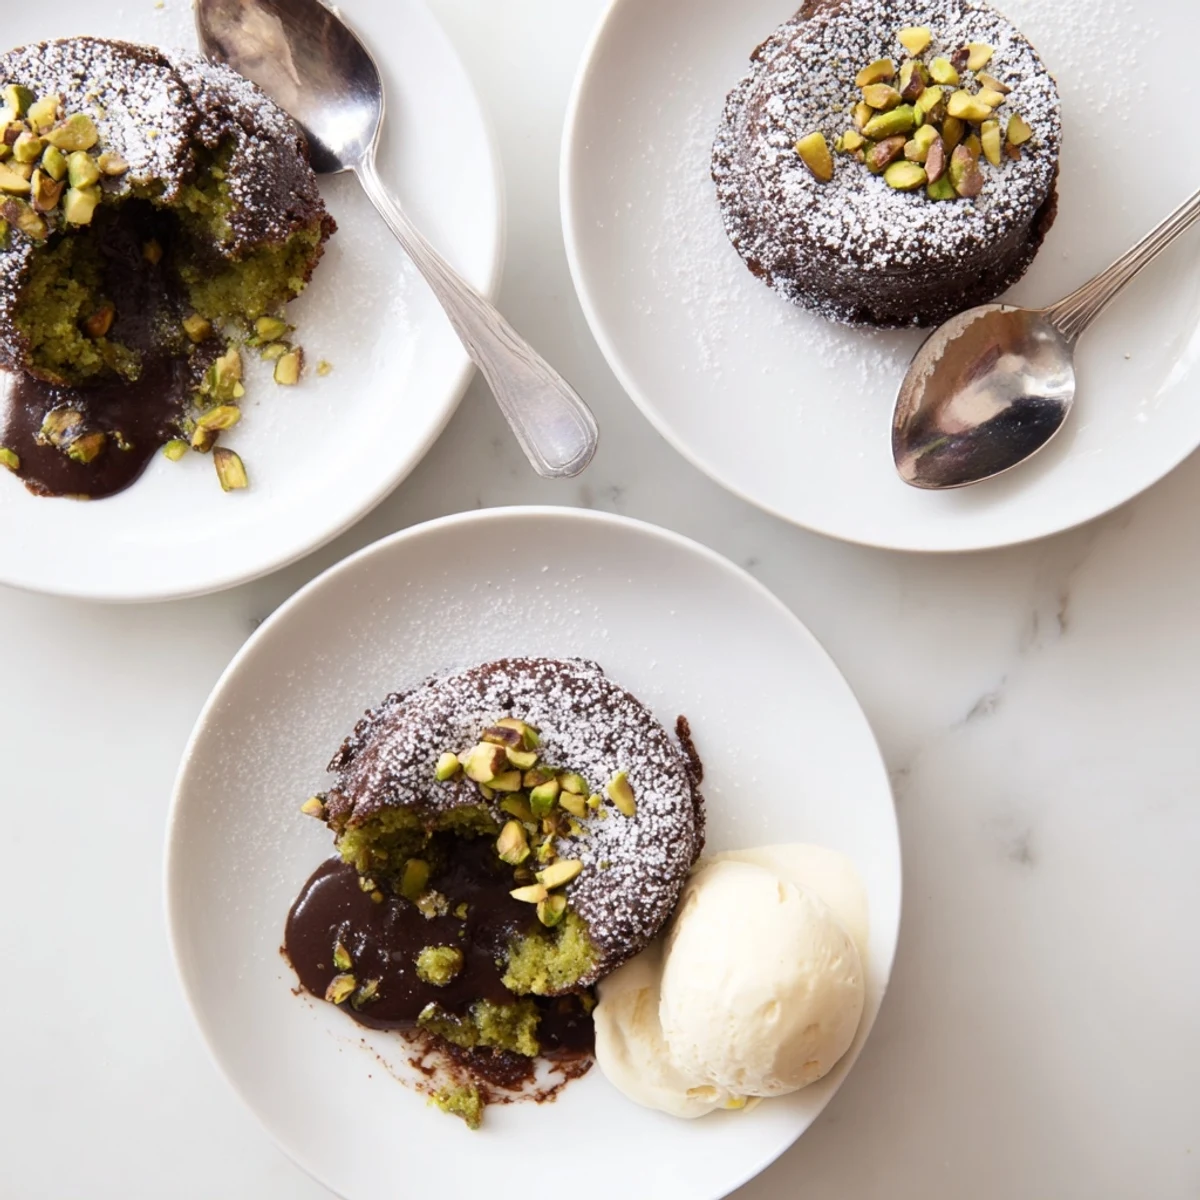
 These elegant individual desserts feature bittersweet chocolate shells with surprise pistachio centers. The batter combines melted chocolate and butter with whipped eggs, creating incredibly moist cakes that bake quickly at high heat. Each ramekin gets layered—half the chocolate base, a dollop of creamy pistachio paste, then topped with remaining batter. The result is a dramatic presentation: crack through the slightly set exterior to reveal molten chocolate flowing around the nutty core. Perfect for dinner parties, these cakes come together in just 20 minutes of active prep and bake in under 15 minutes. Serve warm with vanilla ice cream for the ultimate contrast between hot, gooey chocolate and cold, creamy sweetness.
The oven door had barely clicked shut when my sister peeked into the kitchen and asked what smelled like a bakery had collided with a nut shop. I was midway through my second attempt at pistachio chocolate lava cakes, still recovering from the first batch where I had forgotten to grease the ramekins and served everyone a delicious crumbling mess instead. That evening taught me that some desserts demand respect and a little butter on the sides.
I served these at a small dinner party last winter, and my friend David actually set down his fork and stared at me across the table. He had broken through the cake and the pistachio center was oozing out alongside the chocolate, and he just said that is the most beautiful thing I have ever ruined. We laughed about it for weeks, and now he requests them every time he comes over.
Ingredients
- Shelled unsalted pistachios (1/4 cup, 60 g): These form the heart of the pistachio paste. Use raw, unsalted ones for the brightest flavor and palest green color.
- Heavy cream (2 tbsp, 30 ml): Just enough to pull the ground pistachios into a thick, spreadable paste without making it runny.
- Bittersweet chocolate (100 g, 60 to 70% cocoa): The backbone of the entire dessert. Go for quality here because the flavor is concentrated and unmistakable.
- Unsalted butter (100 g, 7 tbsp): Adds richness and helps the cake release cleanly from the ramekins. Keep a little extra for greasing.
- Large eggs (2 whole plus 2 yolks): The extra yolks create a denser, more luxurious texture that holds the molten center together.
- Granulated sugar (1/3 cup, 65 g): Balances the bitterness of the chocolate without making the cake overly sweet.
- All purpose flour (2 tbsp, 15 g): Just enough to give the cakes structure so they do not collapse when you invert them.
- Salt (1/4 tsp): A small pinch that wakes up every other flavor in the batter.
- Chopped pistachios, powdered sugar, and vanilla ice cream for serving: Entirely optional but the ice cream melting against the warm cake is genuinely magical.
Instructions
- Prepare the ramekins:
- Heat your oven to 220 degrees C (425 degrees F). Coat four ramekins generously with butter, dust with flour, and tap out the excess over the sink until only a thin even layer remains.
- Make the pistachio paste:
- Blend the pistachios in a food processor until they look like damp sand. Pour in the heavy cream and keep blending until you have a thick, smooth paste that holds its shape on a spoon.
- Melt the chocolate and butter:
- Set a heatproof bowl over a pot of barely simmering water and stir the chocolate and butter together until they melt into something glossy and impossibly smooth. Take it off the heat and give it a minute to cool slightly.
- Whisk the eggs and sugar:
- In a separate bowl, whisk the whole eggs, egg yolks, and sugar vigorously until the mixture turns pale yellow and falls in thick ribbons from the whisk.
- Bring the batter together:
- Pour the melted chocolate into the egg mixture and fold gently with a spatula. Sift the flour and salt directly over the top, then fold until everything is just combined with no dry streaks remaining.
- Fill the ramekins:
- Spoon half the batter evenly among the four ramekins. Drop a generous teaspoon of pistachio paste into the center of each one, then cover with the remaining batter, smoothing the tops lightly.
- Bake until just set:
- Bake for 11 to 13 minutes. The tops should look set and slightly cracked at the edges but the centers will still jiggle if you gently shake a ramekin.
- Invert and serve:
- Run a knife around the edge of each cake the moment they come out of the oven. Wait one minute, then place a plate on top and flip with confident hands. Dust with powdered sugar, scatter chopped pistachios over the top, and serve immediately while the centers are still flowing.
 Pin It
 There was a rainy Tuesday when I made these just for myself, no guests, no occasion, and I ate one standing at the counter with the oven still warm against my back. The pistachio center had pooled onto the plate and I used a spoon to chase every last streak of green through the chocolate. It felt like a small private luxury in an otherwise ordinary week.
Getting the Molten Center Right
The entire trick is in the timing and the temperature. Your oven needs to be fully preheated, not almost there, because that initial blast of heat sets the outside quickly while the inside stays soft. I learned after several batches that opening the oven door to check too often lets heat escape and throws off the baking time completely.
Working with Pistachio Paste
Homemade pistachio paste will never be perfectly smooth like the store bought kind, and honestly I prefer the slight texture. If your food processor is small or not very powerful, stop and scrape down the sides every thirty seconds to help it along. The cream is essential here because pistachios alone will turn into powder before they turn into paste without that moisture.
Making These Ahead of Time
You can fill the ramekins, cover them tightly with plastic wrap, and refrigerate for up to eight hours before baking. This makes them a surprisingly practical dinner party dessert since you can prepare them in the morning and simply pop them in the oven while you clear the main course plates. Just add one extra minute to the baking time if they are going in cold from the refrigerator.
- Label the ramekins if you are making different flavors so you remember which is which.
- Always do a test run with one cake before baking the whole batch for a crowd.
- Remember that confidence matters when inverting. A hesitant flip leads to broken cakes.
 Pin It
 Some desserts are about showing off and others are about the quiet satisfaction of getting something exactly right. These lava cakes live in that sweet spot where a little effort creates something unforgettable.
Recipe FAQs
- → How do I know when lava cakes are done baking?
-
The edges should appear set and firm while the center remains slightly soft and jiggly. Start checking at 11 minutes—overbaking will lose the molten texture. The residual heat continues cooking the centers after they leave the oven.
- → Can I make pistachio lava cakes ahead of time?
-
Prepare the batter and pistachio paste up to 4 hours in advance, storing separately in the refrigerator. Bring to room temperature before assembling and baking. Alternatively, fully assemble in ramekins and refrigerate—add 1-2 minutes to baking time if baking cold.
- → What's the best way to get clean lava cake release?
-
Generously butter ramekins, then dust with flour, tapping out excess. Run a sharp knife around the edges immediately after removing from the oven, then wait exactly 1 minute before inverting. This brief rest allows the cakes to set slightly for easier release.
- → Can I substitute the pistachio paste?
-
Almond paste or hazelnut spread work beautifully as alternatives. For a pure chocolate version, omit the nut paste entirely and increase the chocolate batter by 25%. You can also add chopped nuts directly to the batter for texture variation.
- → What chocolate percentage works best?
-
Target 60-70% cocoa for the ideal balance—sweet enough to balance the bitter notes but intense enough to stand up to the rich pistachio flavor. Higher percentages may require additional sugar in the batter for most palates.
- → Why do some recipes call for ramekin dusting?
-
Flour-dusted ramekins create a non-stick surface that ensures clean release and produces an attractive lightly textured exterior. This step is crucial for achieving picture-perfect presentation when inverting the delicate cakes onto serving plates.
