 Pin It
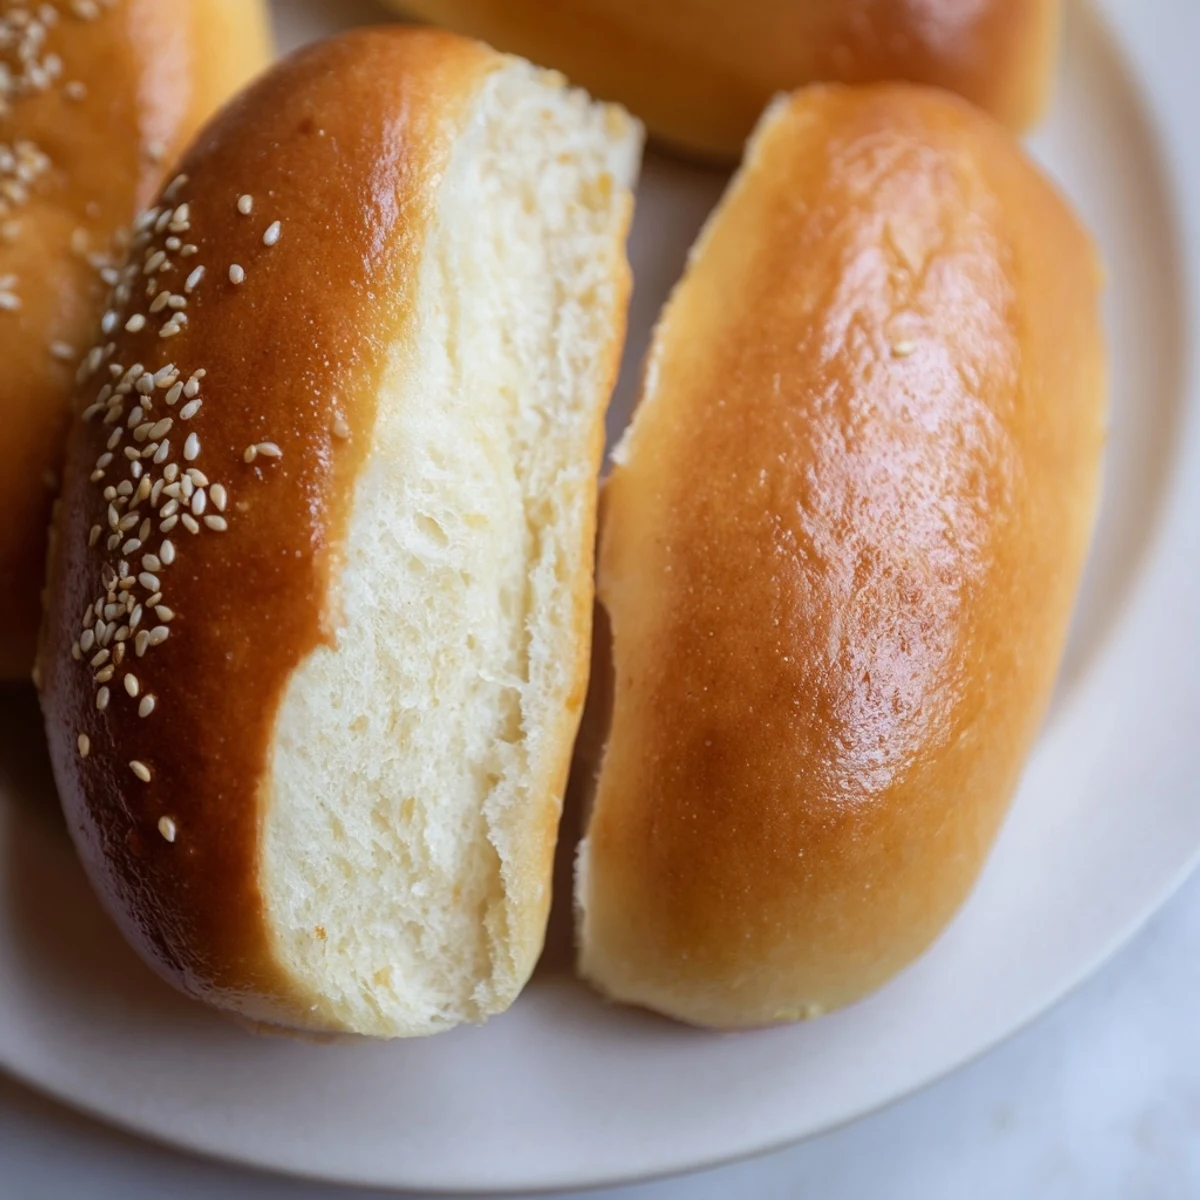
 These soft, pillowy buns repurpose your sourdough starter discard into something spectacular. The unfed discard adds a gentle tanginess that pairs beautifully with the rich, tender crumb. Each bun yields the perfect balance of chew and softness, with a golden crust that melts in your mouth.
The dough comes together quickly with pantry staples, requiring just two rise periods. Brushing with melted butter after baking creates an irresistibly soft exterior, while optional seeds add satisfying crunch. These buns hold up beautifully to hearty toppings and grill conditions.
Make them ahead and freeze for ultimate convenience—simply thaw and warm before serving. The subtle sourdough flavor elevates even the simplest hot dog to something special.
My youngest announced at breakfast that regular hot dog buns were basically edible cardboard, which honestly was not wrong. The store-bought ones always seem to disintegrate the second anything juicy touches them. That afternoon I found myself staring at a jar of sourdough discard that needed using, and suddenly the solution seemed obvious. These buns turned our weekend cookout into something people actually talked about.
The first time I made these, my neighbor smelled them baking and actually knocked on the door to investigate. There is something about yeast bread in the oven that makes the whole street feel like home. Now I keep a few bags in the freezer just in case someone stops by unexpectedly for dinner.
Ingredients
- Sourdough discard: Use unfed starter at 100 percent hydration for that signature tang and extra moisture
- Warm milk: Should feel like bath temperature on your wrist, anything hotter will kill your yeast
- Unsalted butter: Melted completely so it incorporates evenly into the dough
- Sugar: Feeds the yeast and helps the buns achieve that beautiful golden color
- Large egg: Adds richness and helps create a tender crumb structure
- Salt: Essential for flavor and also helps control the yeast activity
- All-purpose flour: Start with 3 and 3/4 cups and only add more if absolutely necessary
- Instant yeast: No need to proof it separately, just mix right in with the milk
- Milk for brushing: Creates a tacky surface so seeds stick before baking
- Melted butter for finishing: Brush this on immediately after baking for the softest crust imaginable
- Seeds or seasoning: Completely optional but makes them look bakery beautiful
Instructions
- Wake up the yeast:
- Combine warm milk and sugar in a large bowl, sprinkle yeast on top, and wait until it starts looking foamy and alive
- Build the base:
- Stir in sourdough discard, melted butter, egg, and salt until everything is well incorporated
- Bring in the flour:
- Add flour one cup at a time until the dough pulls away from the sides but still feels slightly tacky
- Work the dough:
- Knead on a floured surface for about 8 minutes until it springs back when poked
- First rise:
- Place dough in a greased bowl, cover, and let it double in size
- Shape the buns:
- Divide into 8 pieces and roll each into a 6 inch log, tucking the ends under for smooth tops
- Second rise:
- Space them 2 inches apart on parchment paper, cover, and let them get puffy
- Get the oven ready:
- Preheat to 375 degrees while the buns finish their final rise
- Add the extras:
- Brush with milk and sprinkle seeds if you want them to look fancy
- Bake to golden:
- Bake 18 to 20 minutes until they are deeply golden on top
- Finish with butter:
- Brush immediately with melted butter and let cool completely before slicing
 Pin It
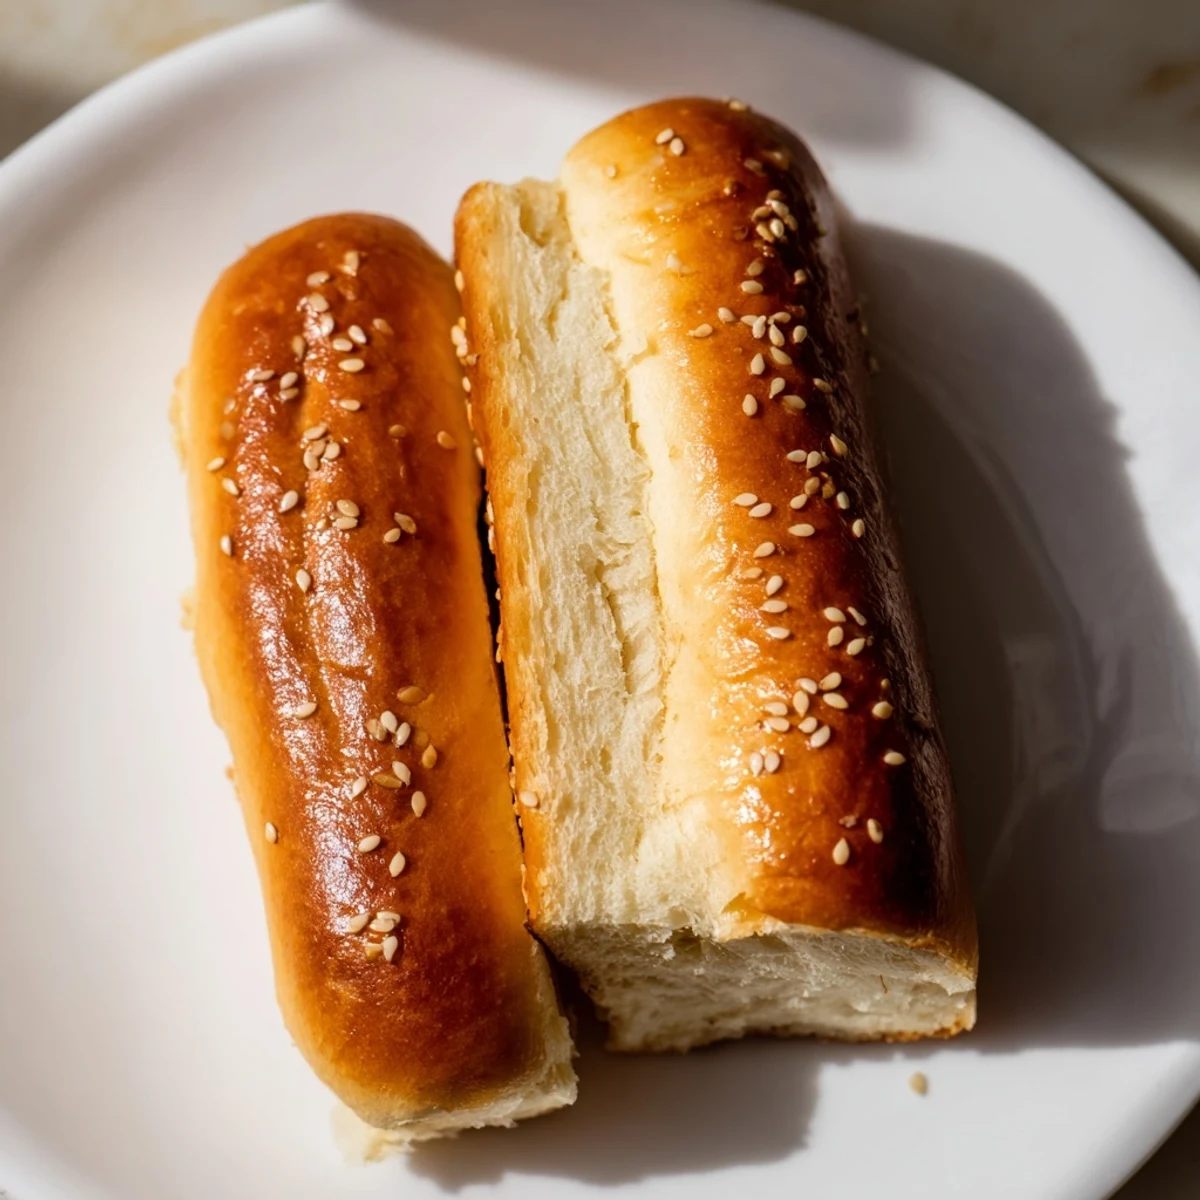
 These buns have become such a staple that my family actually requests them for everything from burgers to bratwurst. Something about making your own bread makes even the simplest meal feel special.
Making Them Ahead
I often mix the dough the night before and let it do its first rise in the refrigerator. The cold fermentation actually develops even more flavor, and I can just shape and bake them fresh the next day.
Getting The Shape Right
The trick to uniform buns is using a kitchen scale to divide the dough evenly. When rolling each piece, use the heels of your hands to apply gentle pressure and roll from the center outward.
Freezing For Later
Once completely cool, wrap buns individually in plastic and freeze in a freezer bag. They reheat beautifully in a 350 degree oven for about 5 minutes.
- Toast split buns under the broiler for 2 minutes before adding toppings
- Brush the insides with a little oil before toasting for extra flavor
- Never slice hot buns or they will squish down under the knife
 Pin It
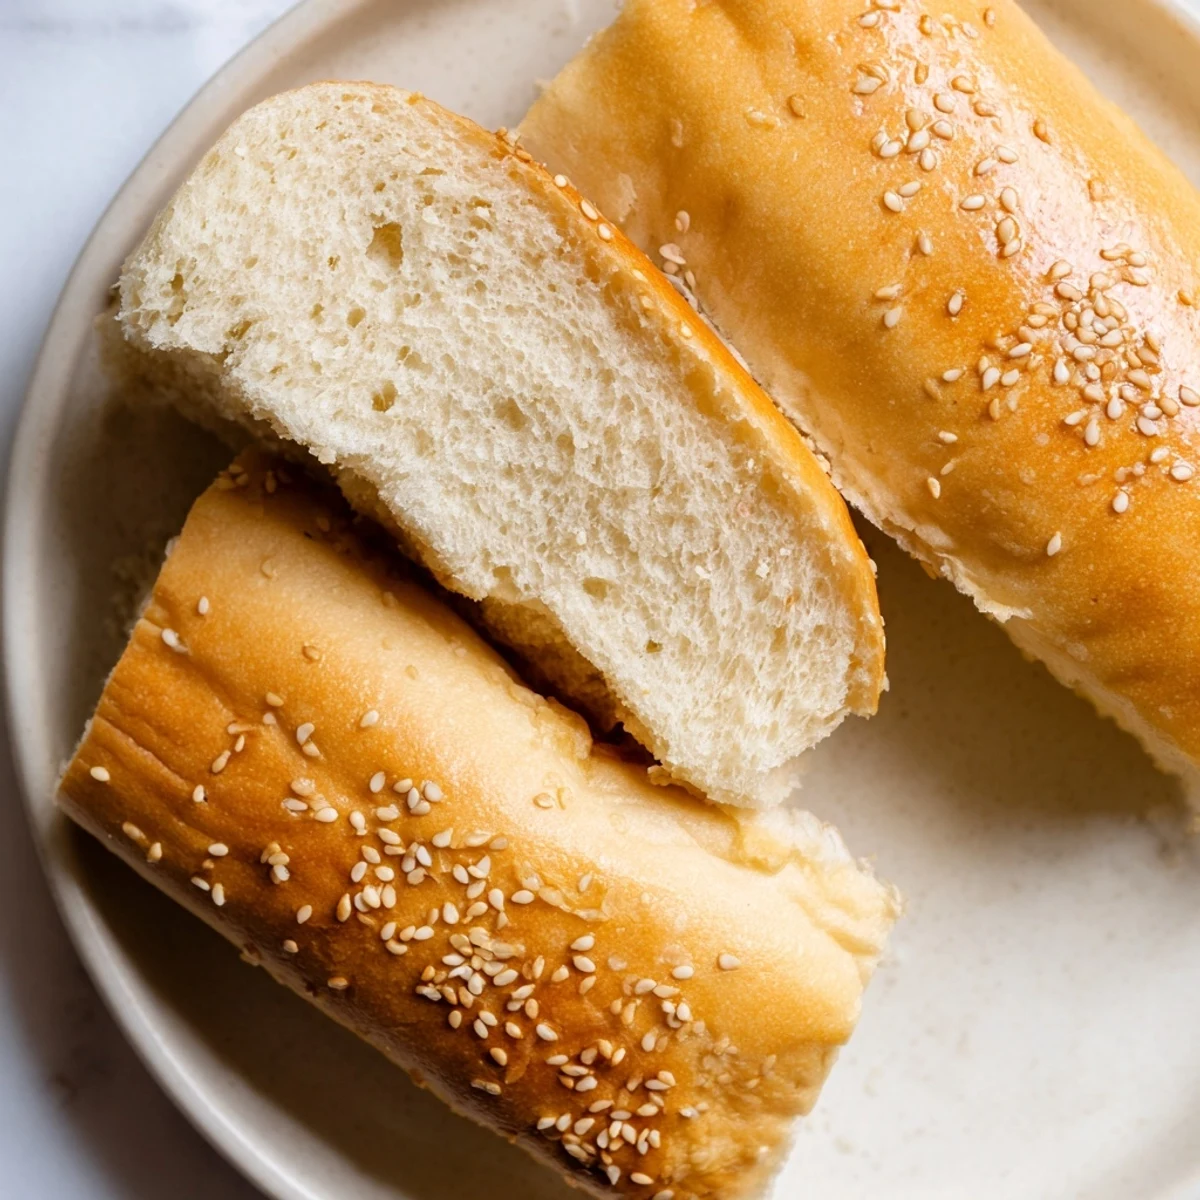
 There is something deeply satisfying about pulling apart a warm bun you made yourself. Happy baking, and enjoy the way these transform your next cookout.
Recipe FAQs
- → Can I use active sourdough starter instead of discard?
-
Yes, active starter works perfectly. Reduce the yeast slightly to 1 ½ teaspoons since the active starter provides additional leavening power. The flavor will be slightly more pronounced.
- → How should I store these buns?
-
Keep at room temperature in an airtight bag for up to 3 days. For longer storage, freeze individually wrapped for up to 3 months. Thaw on the counter and refresh in a warm oven.
- → Why is my dough too sticky?
-
Humidity and flour absorption vary. Add flour gradually until the dough pulls away from the bowl sides but still feels slightly tacky. Over-flouring creates dense buns.
- → Can I make these dairy-free?
-
Absolutely. Substitute warm oat or almond milk for dairy milk, and use vegan butter or coconut oil. The texture remains excellent with these plant-based swaps.
- → What makes these different from regular hot dog buns?
-
The sourdough discard adds subtle complexity and extended freshness. These buns stay softer longer and develop a richer flavor profile than commercially produced options.
