 Pin It
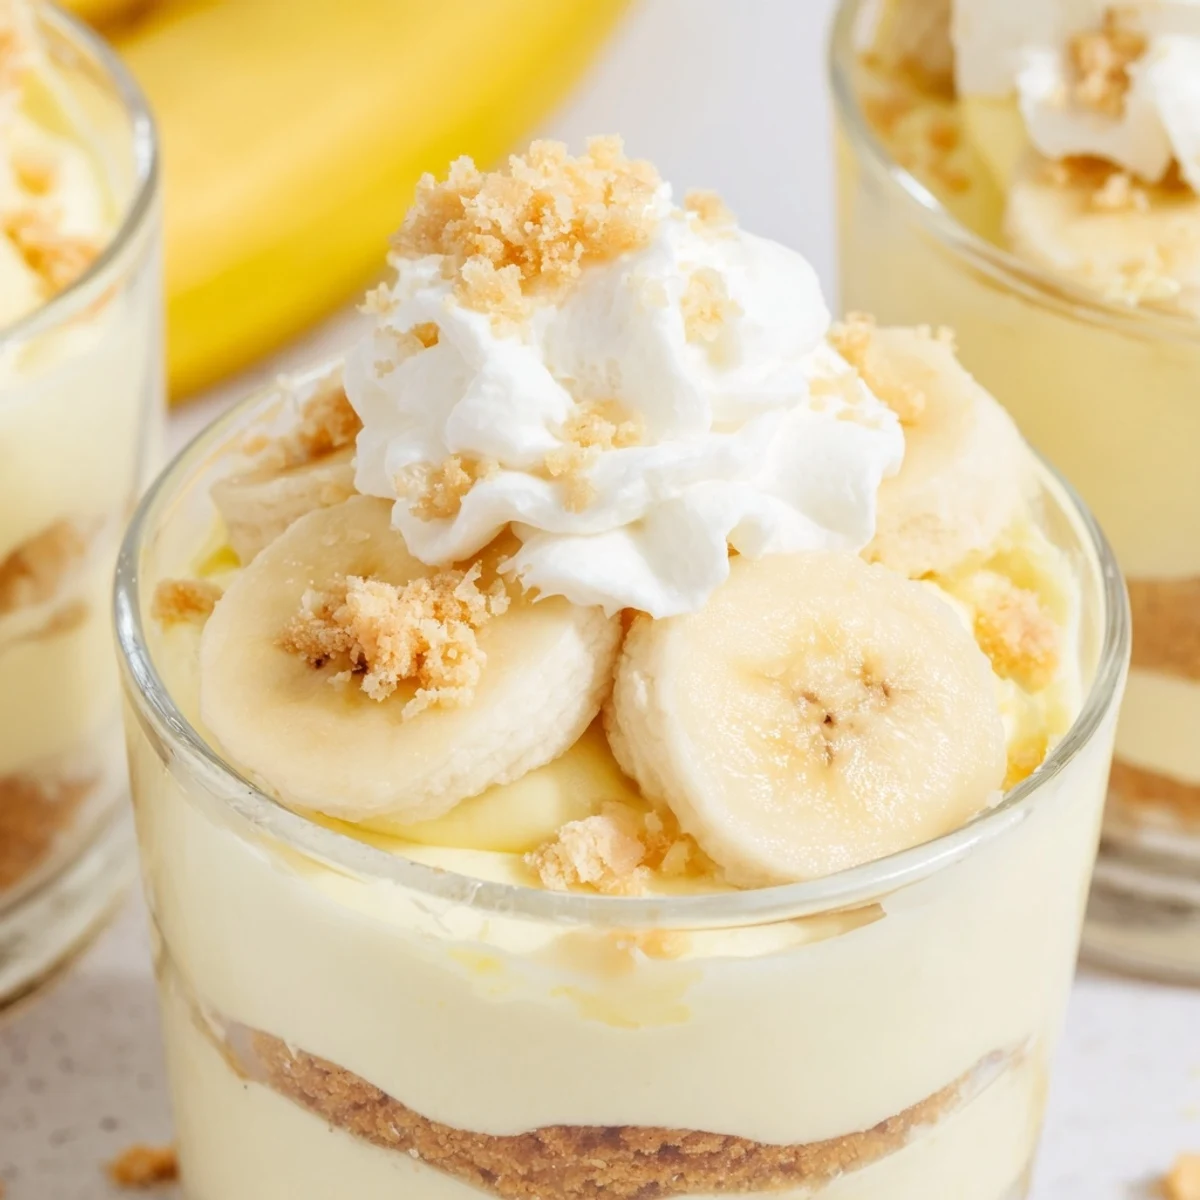
 These delightful cups combine the rich creaminess of cheesecake with nostalgic banana pudding flavors. Each portion features a buttery vanilla wafer base, smooth cheesecake filling, sweet banana pudding layer, and generous toppings of fresh banana slices and crunchy crumbs.
The entire dessert comes together in just 20 minutes of active preparation—no oven required. After chilling for two hours, you'll have perfectly set cups with distinct layers that look impressive yet taste incredibly comforting.
Perfect for parties, potlucks, or weeknight treats, these individual servings eliminate the need for slicing and plating. Guests can simply grab their own cup and enjoy the harmonious blend of textures from crispy crust to silky fillings.
My aunt introduced me to these cups at a summer potluck when I was still convinced real dessert required an oven and three hours of effort. She set them down on the buffet table and within ten minutes, every single serving cup had been claimed. I've since learned that sometimes the most memorable desserts are the ones that let you walk away from the kitchen while someone else handles the dishes.
Last summer I made twelve cups for my daughter's birthday, thinking I'd be clever and prep everything the night before. My husband wandered into the kitchen around midnight, spotted the covered tray, and accidentally ate two with a spoon before I caught him. Now I always make extras, just in case the quality control team shows up unannounced.
Ingredients
- Vanilla wafer cookies: These classic Nilla wafers are nostalgic for a reason, they soften beautifully while still holding their structure in the creamy layers
- Unsalted butter: Melted butter binds the crust together, and starting with unsalted lets you control the final salt level
- Cream cheese: Full fat, softened completely is nonnegotiable here, any lumps will show up in your silky filling
- Heavy whipping cream: Cold cream whips up faster and holds its shape longer, giving the cheesecake that cloudlike texture
- Instant banana pudding mix: The convenience factor is real, just make sure you're getting the instant cook and serve pudding will give you a completely different texture
- Ripe bananas: Look for bananas with plenty of brown spots, they're sweeter and mash more easily if you want to incorporate some into the pudding layer
Instructions
- Build the buttery crust foundation:
- Crush those vanilla wafers into fine crumbs, either in a food processor or the old fashioned way with a rolling pin and a ziplock bag. Mix with melted butter until it feels like wet sand, then press about two tablespoons into the bottom of each serving cup, using the back of a spoon to compact it into an even layer.
- Whip up the cheesecake cloud:
- Beat your softened cream cheese with sugar and vanilla until it's completely smooth, this will take about two minutes with a hand mixer. In a separate bowl, whip that cold heavy cream until stiff peaks form, then gently fold it into the cream cheese mixture until no white streaks remain.
- Prepare the banana pudding layer:
- Whisk the instant pudding mix with cold milk for exactly two minutes, it will thicken quickly and you want it fully incorporated. Let it sit for a few minutes while you assemble the first layers, this gives it time to set up properly.
- Layer everything with love:
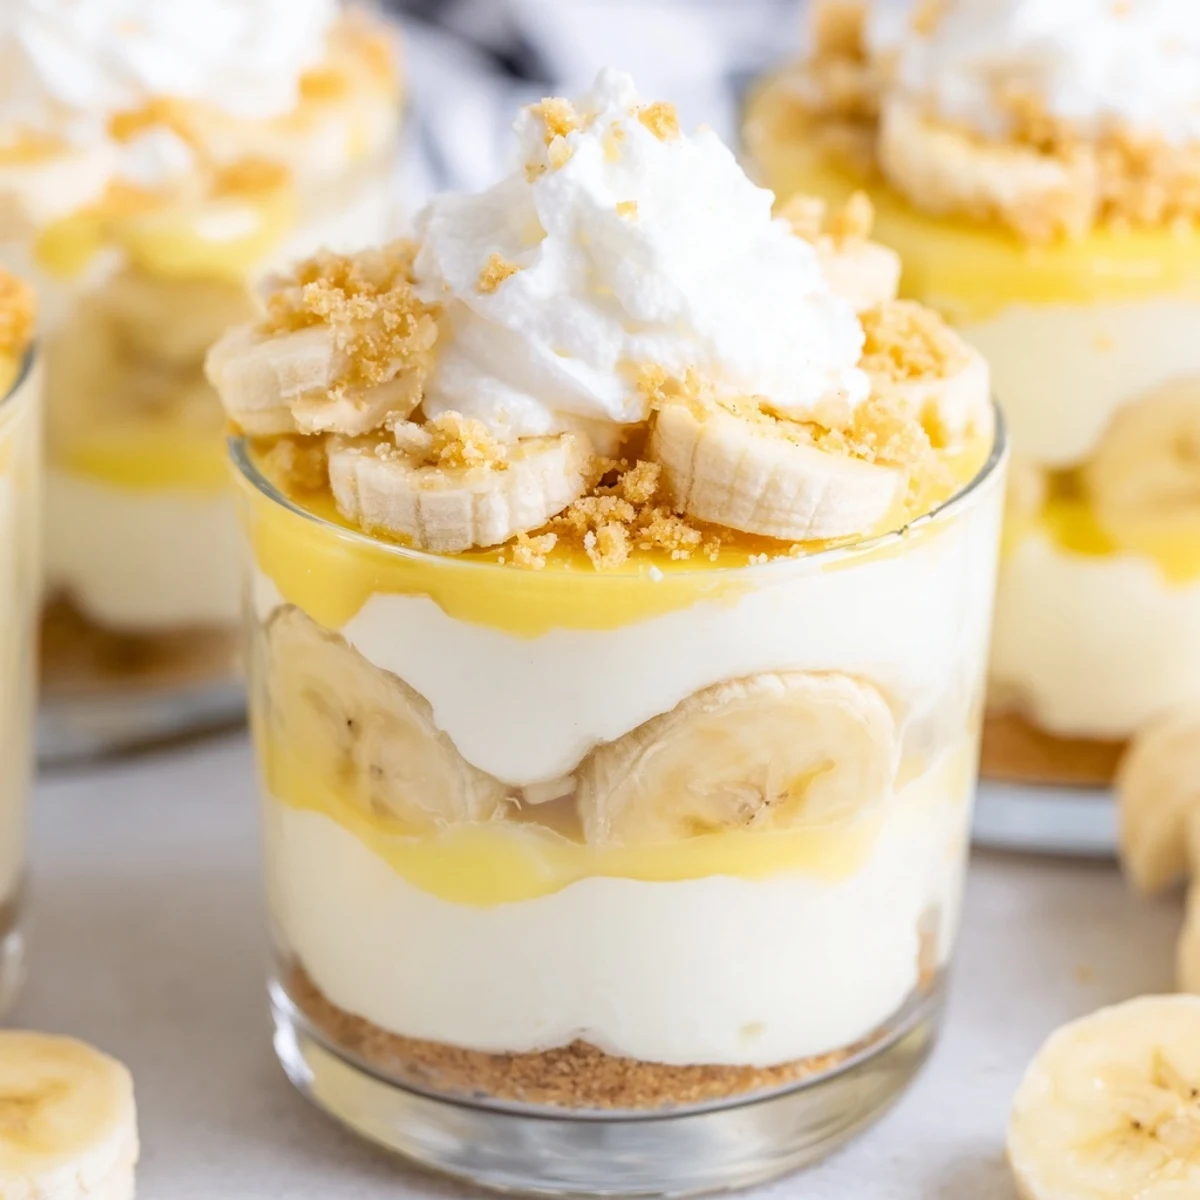
- Spoon half the cheesecake filling over your crusts in each cup, followed by a layer of fresh banana slices. Divide the banana pudding among the cups, then top with the remaining cheesecake mixture, creating those beautiful distinct layers that make these cups so impressive.
- Add the finishing touches:
- Sprinkle additional wafer crumbs over the top, add a few more banana slices for that fresh pop of flavor, and add a dollop of whipped cream if you're feeling extra generous. Cover and refrigerate for at least two hours, though overnight is even better for letting all the flavors meld together.
 Pin It
 My neighbor now requests these for every neighborhood gathering, and I've learned to bring the serving cups in a separate container from the toppings. Last fall I assembled everything at home and arrived with a beautiful tray, only to discover the wafer crumbs had absorbed moisture from the pudding and lost their crunch during the twenty minute drive. Now I pack a small baggie of fresh crumbs and a knife for slicing bananas on site, which somehow makes the whole ritual feel more special anyway.
Making These Ahead
You can assemble the entire cups up to 24 hours before serving, but hold off on the fresh banana topping until right before you're ready to serve. The layers underneath will be perfectly fine, but those banana slices on top will oxidize and turn an unappealing brown overnight. If you're worried about timing, everything except the final garnish can be done the day before, then just add those fresh banana slices and whipped cream minutes before guests arrive.
Getting The Layers Right
The secret to picture perfect layers is working with slightly chilled fillings, which helps each layer set up before you add the next one. After spooning in the cheesecake layer, give the cups about five minutes in the fridge before adding your banana slices, then another five minutes before the pudding goes on. It might feel like it takes forever, but this patience prevents the layers from bleeding into each other and keeps those distinct striations that make these cups so impressive when you finally serve them.
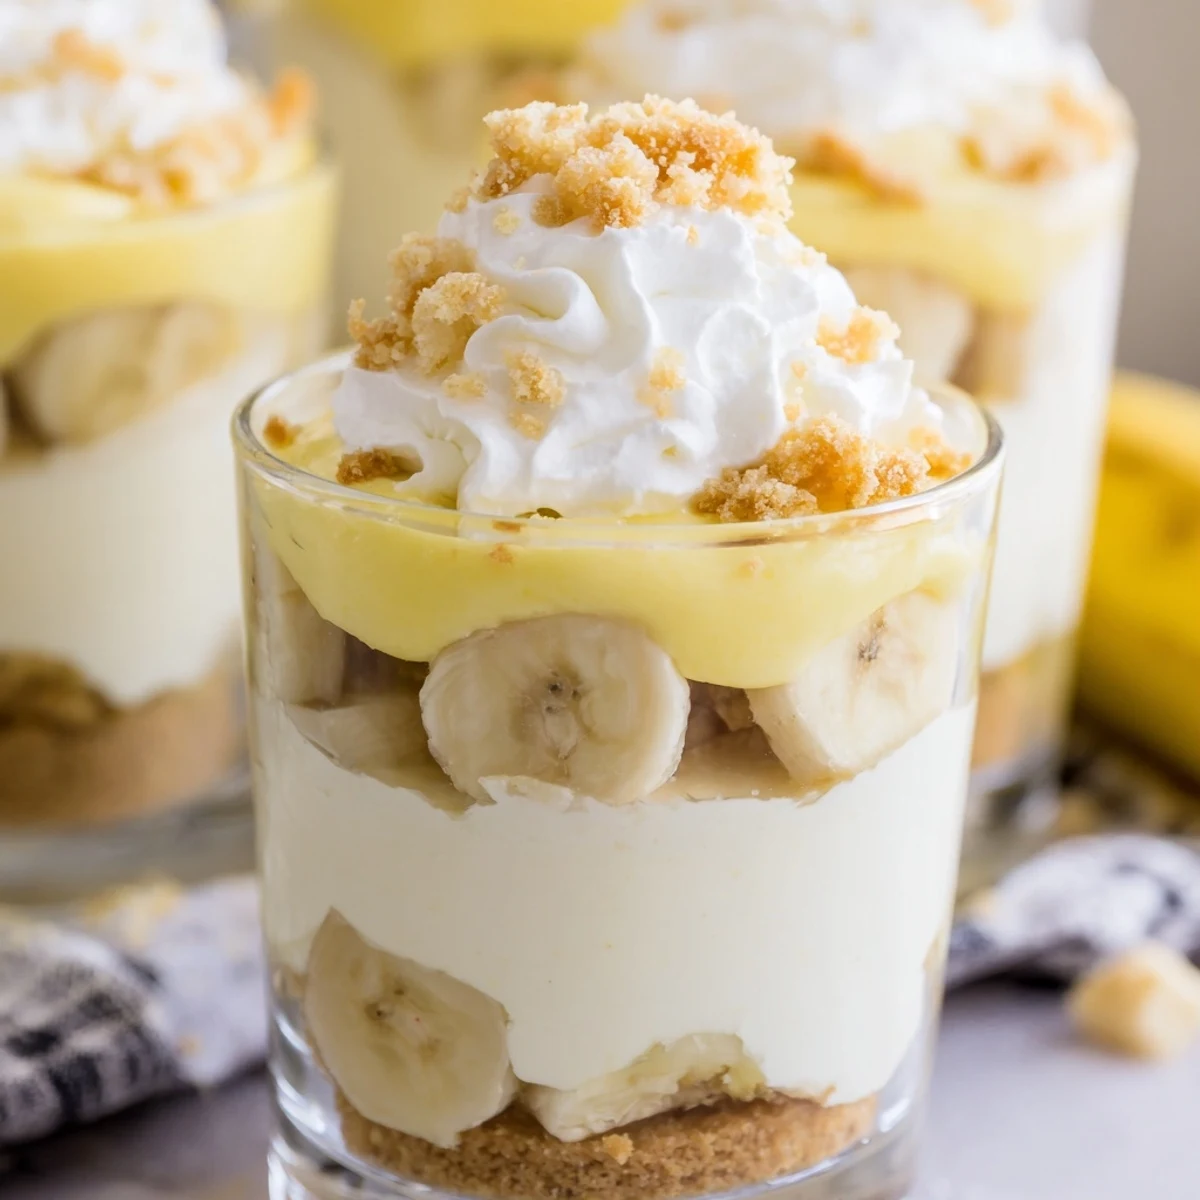
Serving Suggestions
Clear glass serving cups or mason jars show off these beautiful layers best, letting guests see exactly what they're about to enjoy. I've found that eight ounce jars work perfectly, giving enough room for all three layers plus toppings without overflowing. If you're serving a crowd, set up a little topping station with extra whipped cream, crushed wafers, and even some chocolate shavings, letting people customize their final layer however they like.
- Chill your serving glasses for 15 minutes before assembly, the cold glass helps set the first layer faster
- Run your knife under hot water and wipe dry between slices if you're making a larger version
- These cups travel surprisingly well if packed in a cooler with ice packs
 Pin It
 There's something deeply satisfying about serving a dessert that looks like it required professional training but actually came together in under thirty minutes. These cups have become my go to for everything from Tuesday night treats to fancy dinner parties, and nobody ever needs to know how truly simple they were to assemble.
Recipe FAQs
- → Can I make these cups ahead of time?
-
Absolutely! These cups actually benefit from chilling time and can be prepared up to 24 hours in advance. For best results, add the fresh banana slices and whipped cream topping just before serving to prevent browning and maintain optimal texture.
- → What type of vanilla wafers work best for the crust?
-
Classic Nilla wafers are traditional and provide the perfect crunch-to-butter ratio. However, you can substitute graham crackers, vanilla sandwich cookies, or even Biscoff cookies for a different flavor profile. Just ensure they're crushed finely for the best crust texture.
- → How do I prevent banana slices from turning brown?
-
Toss the banana slices lightly in lemon juice before layering them in the cups. The citric acid prevents oxidation while adding minimal flavor. Alternatively, arrange banana slices just before serving, or dip them quickly in a mixture of water and lemon juice then pat dry.
- → Can I substitute the instant banana pudding mix?
-
While instant pudding provides convenience, you can make homemade banana custard using cornstarch, milk, sugar, and mashed ripe bananas. Cook on the stovetop until thickened, then cool completely before layering. This adds extra fresh banana flavor but requires additional chilling time.
- → What size cups work best for this dessert?
-
Use 6-8 ounce clear glass cups, mason jars, or dessert glasses to showcase the beautiful layers. Ramekins work too but won't display the layers as visibly. The recipe yields 6 servings, so choose vessels that hold approximately 1 cup each for proper portioning.
- → Can I freeze these cheesecake cups?
-
Yes! Assemble the cups without fresh banana toppings, wrap tightly with plastic wrap and foil, then freeze for up to 1 month. Thaw overnight in the refrigerator before adding banana slices and whipped cream. The texture remains creamy and delicious after freezing.
